Introduction Rytr AI Content writer
Here you can learn about the Ryting process and find answers to your burning questions!
The team has worked exceptionally hard to deliver a high-quality experience and it always hurts us to see an unhappy Rytr. Please reach out at support@rytr.me if you need any kind of assistance!
This is a single page guide and to search for specific query or section, just press CMD+F (macOS) or CTRL+F (Windows/Linux) to open browser's default search bar.
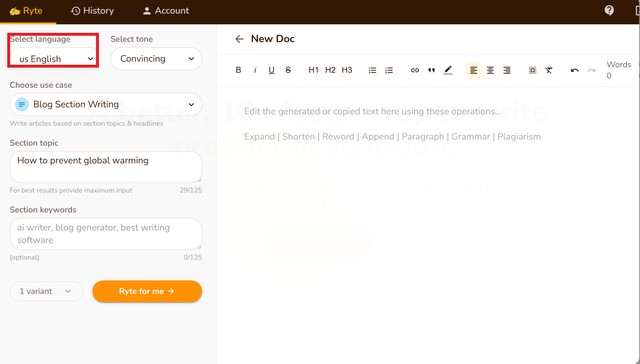
Once you are logged in, you'll see a simple interface — the left-hand panel is used for generating content and the right-hand side is the editor to play around with the generated output.
Writing Process
Language
Rytr supports 30+ languages:
🇦🇪 Arabica 🇨🇳 Chinese 🇨🇿 Czech 🇩🇰 Danish 🇳🇱 Dutch 🇺🇸 English 🇫🇮 Finnish
🇫🇷 French 🇩🇪 German 🇬🇷 Greek 🇮🇱 Hebrew 🇮🇳 Hindi 🇮🇩 Indonesian 🇮🇹 Italian
🇯🇵 Japanese 🇰🇷 Korean 🇳🇴 Norwegian 🇵🇱 Polish 🇵🇹 Portuguese 🇷🇴 Romanian
🇷🇺 Russian 🇪🇸 Spanish 🇸🇪 Swedish 🇹🇭 Thai 🇹🇷 Turkish, etc.
The language has to be selected from the 'Select Language' drop-down list which will appear on the left side of the Rytr screen.
Unlike other similar tools, we have a proprietary approach for supporting multiple languages that are not dependent on GPT3 limitations, allowing us to deliver a much better quality of output.
We are adding new languages regularly, you can always reach out to us at support@rytr.me for a special request and we will try our best to accommodate.
Tone
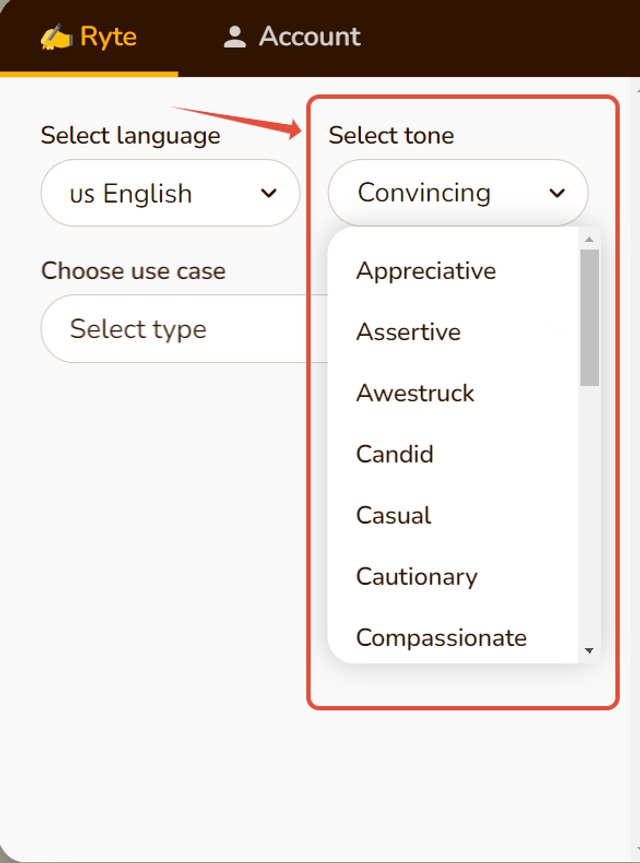
As a user, you have 18+ tones you can select from (convincing, awestruck, inspirational, etc.) to add personality to your content.
It can be selected from a drop-down list next to the languages screen. To understand more about what Tone of Voice is and how it can be used check out our article on the Importance of Tone in Content Marketing.
Here are a couple of examples using different tones:
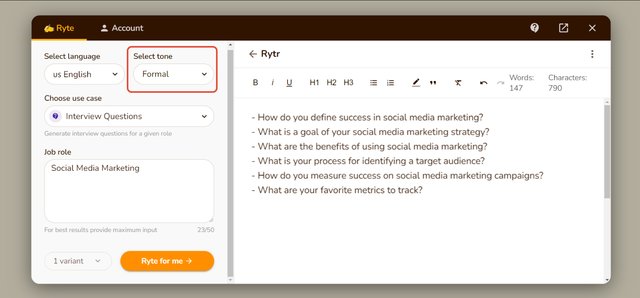

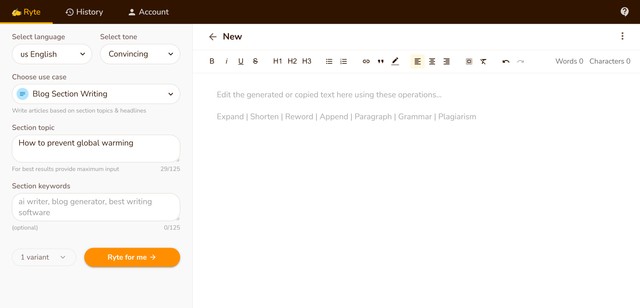
Use Cases
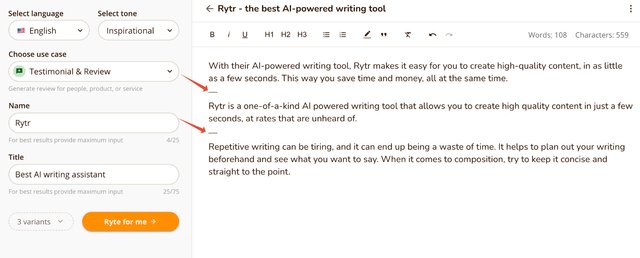
Rytr supports 20+ use cases already and new ones are added regularly.
For a full list and detailed explanation of each one please refer to this use cases page.
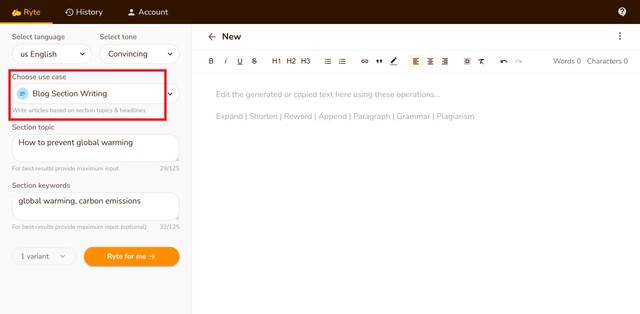
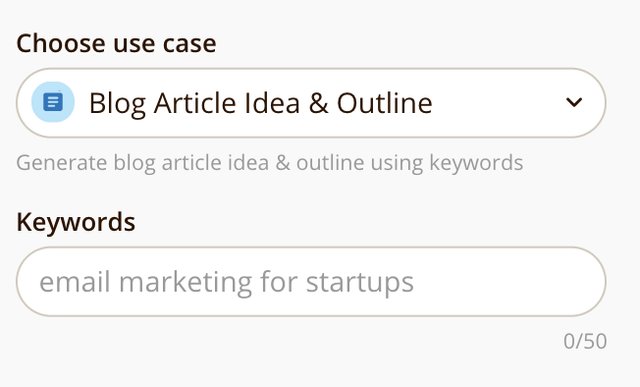
Once you select a use case, you will see a caption under each use case to understand what each use case is for. Please read these captions to get a better idea.
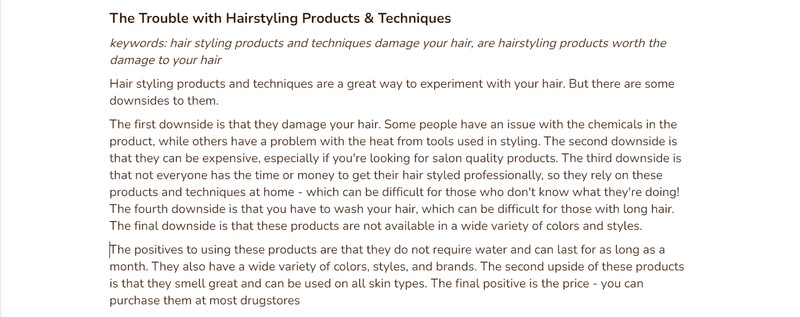
Here is an example:

Input
Each use case offers an input field where the user is expected to type some text to give some context to the AI. Small and informative phrases / key points to the AI tool will act as a hint and helps the tool understand your needs efficiently.
💡Useful tips
Follow the format shown in the placeholder text 🔗
Placeholder text gives you an idea about the kind of text you should provide to get the best results from the AI.
Follow the suggested character limit 🔗
The input text has a character limit that ranges from 25-200 characters depending on the use case selected by you. Please provide as much input as you can to get specific and high-quality results.
The limit is there to comply with OpenAI guidelines but we'll keep fine-tuning / optimizing it based on usage patterns.
Incomplete or strange phrases 🔗
Try to avoid giving short, incomplete, or wrongly punctuated phrases such as:
- "email marketing for"
- "best software in marketing,"
- "support"
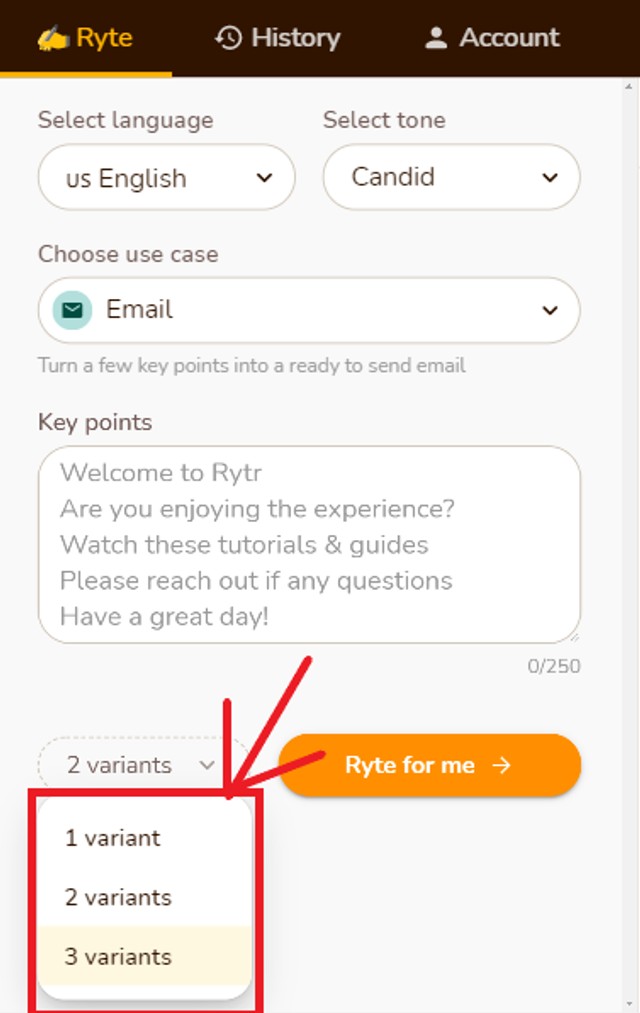
Variants
You can select the number of variants you want in your output.
At any given point, you can generate a maximum number of 3 variants. It is recommended that more than 1 variant should be used in cases where more creativity or ideas are required such as blog ideas, taglines, video ideas, ad copies, etc.
Choosing the right set of variants is essential for streamlining your work and keeping things organized.
Even though this is a free-flowing AI tool, the less cluttered it is, it is easier for you as a user to locate and work on the content that is needed.
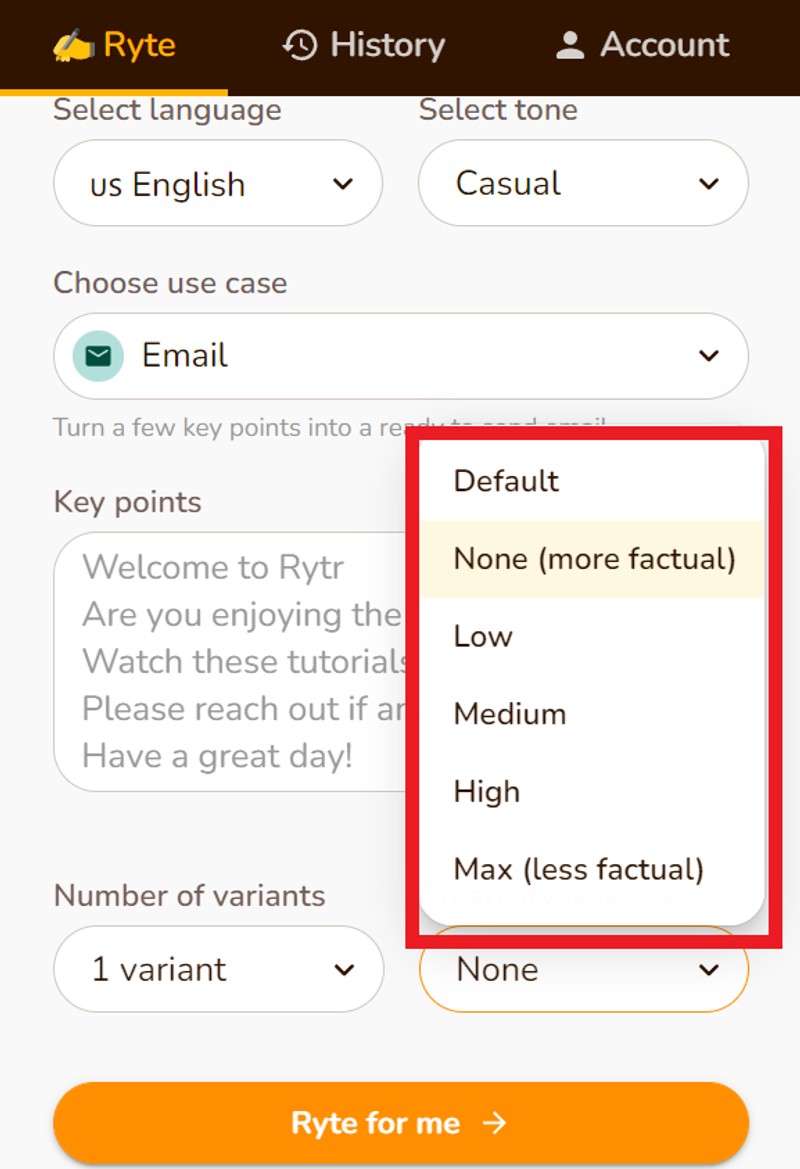
Creativity Level
Let's understand the variations with an example:
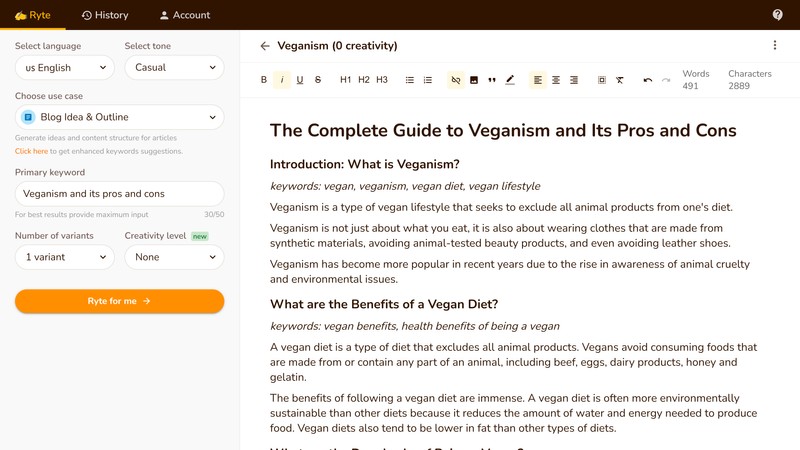
- Here we have selected 'none' in the creativity level and can find AI talking about veganism in a pretty straightforward way with maximum factual accuracy
-Here we have selected 'max' in the creativity level and we can see that while the text looks creative, there are a few inaccuracies here n there

Output
Once you click "Ryte for me" the AI will take your inputs and do its magic.
Within a few seconds, you'll see the output results in the right-hand side editing panel.
Each variant is demarcated with the "—" symbol.
The output appears in the blank document on the right, and it is ready for changes within the same document.
If you are not happy with your results - maybe there are blank outputs, repetitive phrases, or just sub-optimal results - you can always click the orange button that now says "Ryte more” to generate more results.
When you select Ryte more the content is added at the cursor's last position, so be careful where you place the cursor. If you wish to append text in the middle of the sentence, place your cursor there. Similarly, if you want it at the start or end, change the cursor position accordingly.
You can also tweak your input text (for example, change your key points) or modify the tone settings a little bit to get desired results. You'll be surprised by the quality of results you'll see using a combination of different input text and tones.
We really take pride in providing the best quality output in the market and it really hurts us when Rytrs see poor results. Rest assured we're working hard to fix some of the known issues and will surely help you get the best out of the tool, please reach out to us at support@rytr.me if you're not able to get the desired results.
This completes the basic writing flow. In the next section, you will learn how to use the formatting & editing features to make the content more personalized and readable.
Append Generated Content
You can set where the generated content is appended inside the editor (document). Go to Account → Settings → App Settings → Append generated content to set the preference.
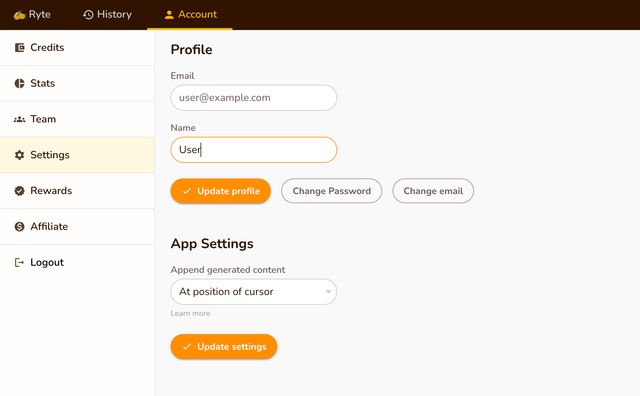
At position of cursor:

At the end of document:
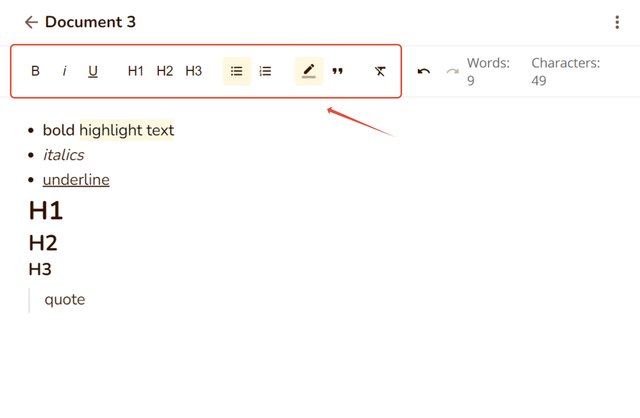
Editing Process
Once you have generated - or copied the text from elsewhere - in the editor, you can use our powerful editing operations to refine it further. These operations are especially useful if you're writing long-form blogs and articles.
Please note that while doing the editing operations the AI will use the selected language and tone shown in the left-hand side panel.
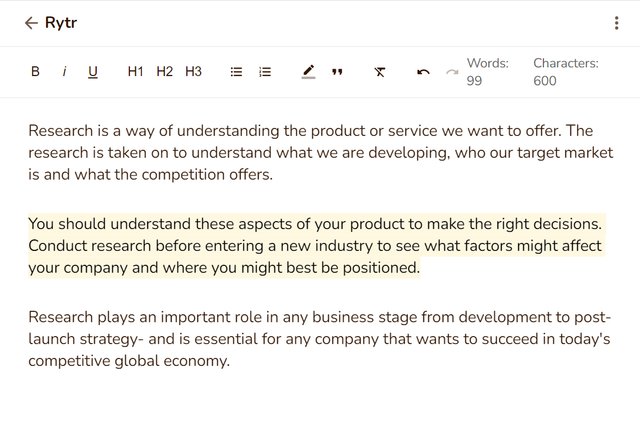
Expand
Expand helps you insert a few words throughout the text to make it a bit wordier.
Just select the text you want to edit and you'll see a ribbon above it. Click Expand option from there to use this feature.
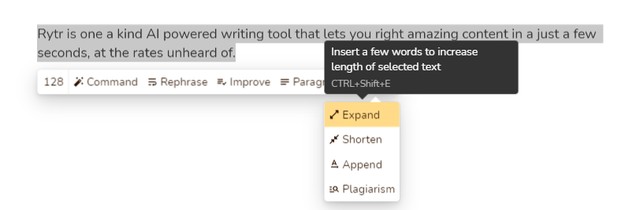
Here's an example
Before:
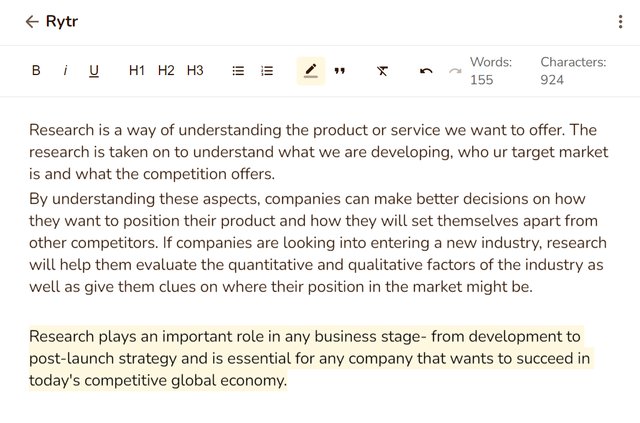
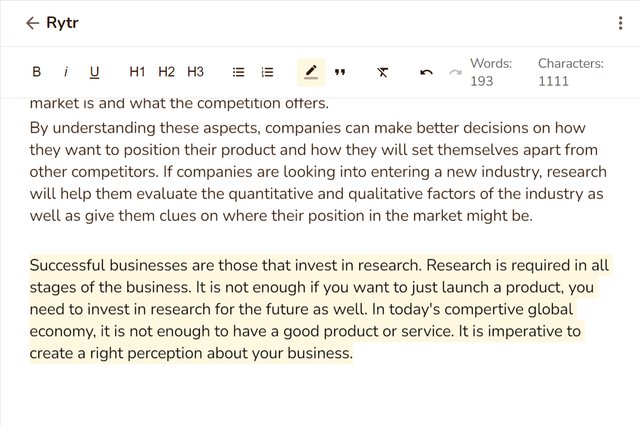
After using the expand option, there has been an increase in the highlighted content. This editing operation just added a few more words/sentences throughout the text.
If your input text seems to touch the output characters limit (~300 characters), you probably won't see much of a change in the final output.
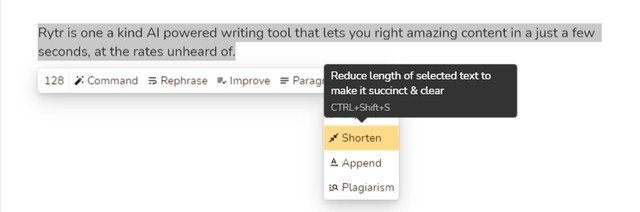
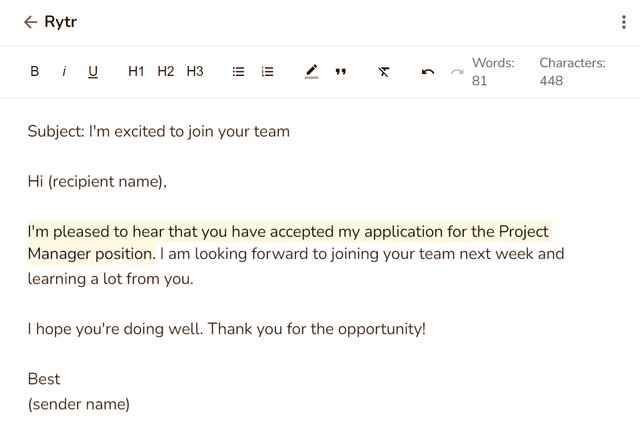
Shorten
Shorten helps you reduce the length of text while keeping more or less the same meaning.
Just select the text you want to edit and you'll see a ribbon above it. Click Shorten option from there to use this feature.
Here's an example:
Before:

After:
In this case, we have used the shorten function, and the selected text body has reduced by a certain number of characters.
Even though the number of characters used in the copy has reduced the essence remains the same.
Rephrase
Rephrase helps you reword the whole text to make it sound different.
Just select the text you want to edit and you'll see a ribbon above it. Click Rephrase option from there to use this feature.

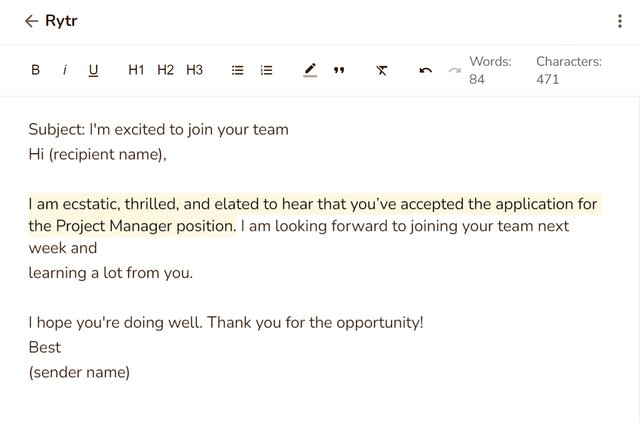
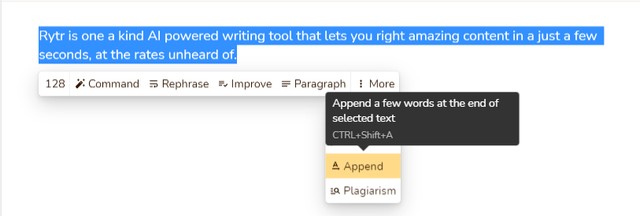
Append
The append option simply adds some words at the end of the selected text, useful for incomplete/broken paragraphs or sentences.
Just select the text you want to edit and you'll see a ribbon above it. Click the Append option from there to use this feature.
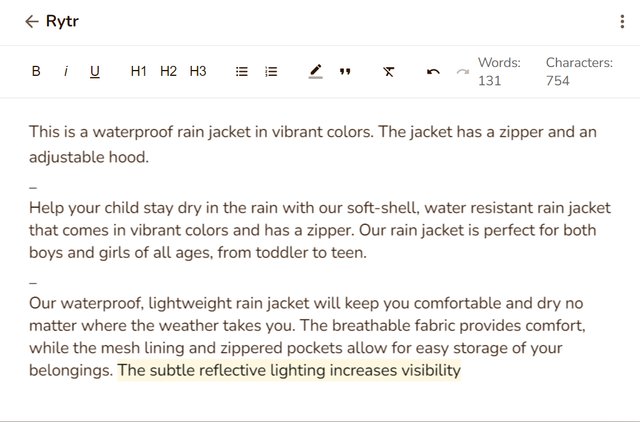
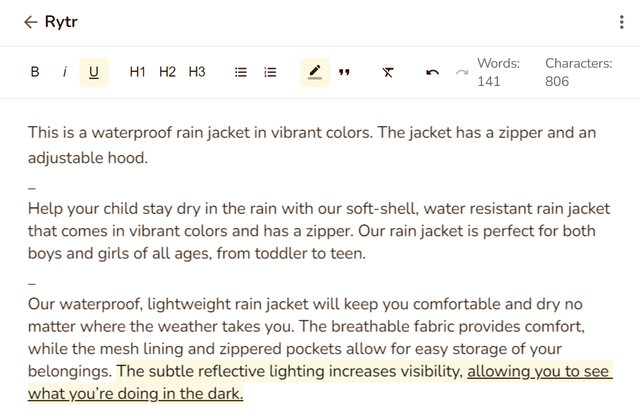
Here I want to finish the last sentence that has been highlighted in the above image. To complete it and convey my message better, I will now use the 'Append' option.
After using it, we can now see that the sentence is completed and is more readable.
After:
Paragraph
This operation is best used for blog or article section writing by letting you generate a paragraph on the selected topic.
If the topic is in the form of a Heading format (H1, H2, H3, etc.), the AI will generate an intro-like, long paragraph whereas, in normal body text cases, it will produce a couple of sentences.
To get the best results, please add relevant keywords in the topic heading so the AI can generate highly relevant outputs.
Just select the text you want to edit and you'll see a ribbon above it. Click the Paragraph option from there to use this feature.

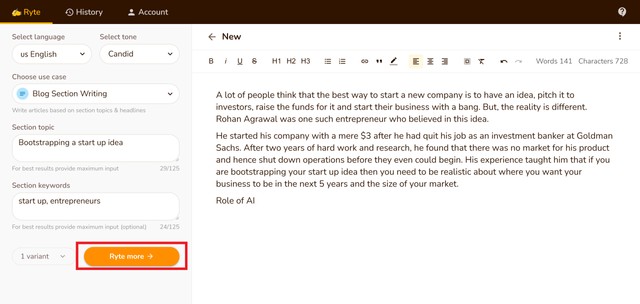
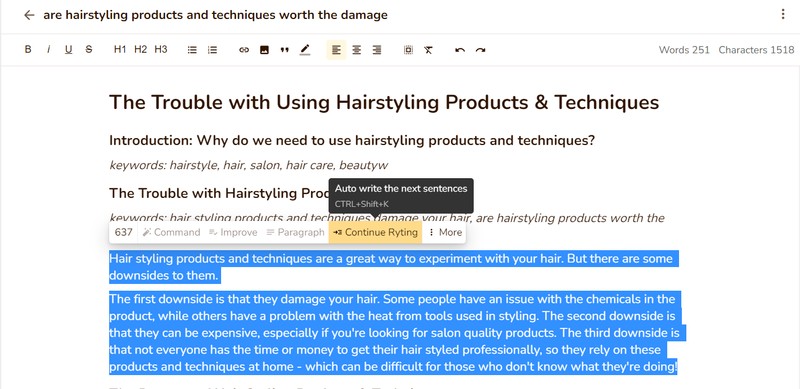
Continue Ryting
Another must-have operation for your long-form posts, 'Continue Ryting' will be your saviour when 'Paragraph' won't suffice. This function reads your previously written/generated text and continues from where you left.
Just select the text (100-1000 characters) you want to continue from and you'll see a ribbon above it. Click the Continue Ryting option from there to use this feature.
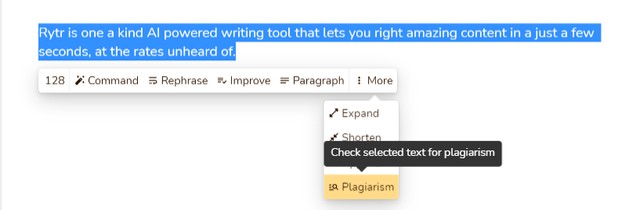
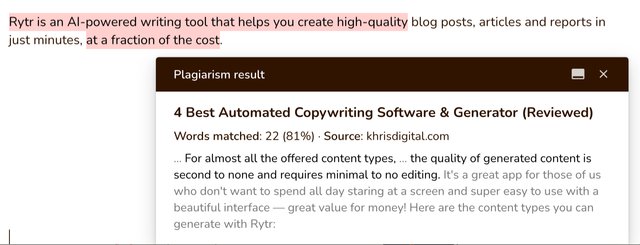
Plagiarism
We also have a native plagiarism checker (powered by Copyscape, one of the industry leaders) to test the authenticity and uniqueness of the content.
Simply select any text (between 100 to 1600 characters) and click the three dots to bring up the plagiarism checker.